Configuring Layout of Video Wall Displays |
  
|
Configuring Layout of Video Wall Displays |
|
Nx Witness can display video on unlimited number of displays. To make a computer displays part of Video Wall (Video Wall Processor) it is necessary to perform the following settings on that computer:
1.Right Click on Video Wall in Resource Tree and choose Attach to Video Wall.
2.Configure Video Wall Screens. Nx Witness automatiacally detects the number of displays connected to the computer.
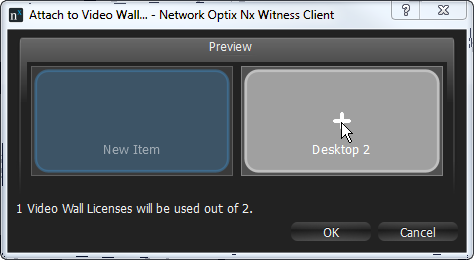
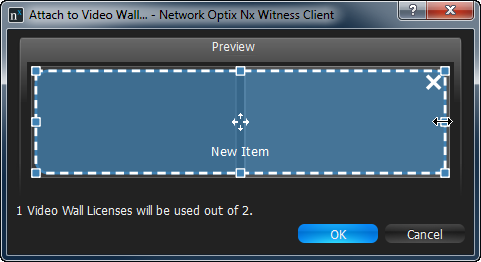
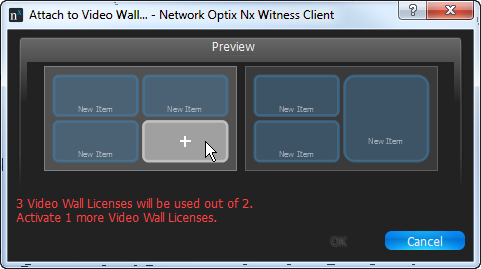
• To add screen click on "+" in the dialog:
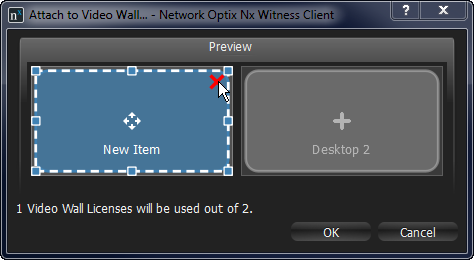
•To remove screen click on "X":
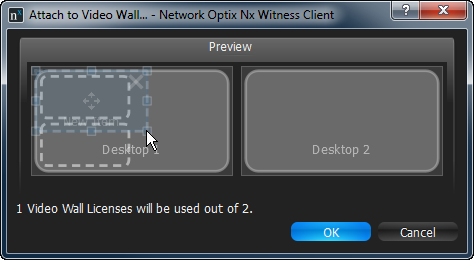
•To resize Screen drag the edges:
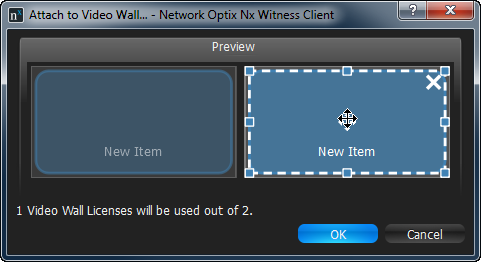
•To move Screen click at center and drag:
The following scenarios are available:
•Most common – one virtual Screen represents one physical Display. Just click on every single Screen.
•one virtual Screen is stretched on several physical Displays:
•one physical Display contains several virtual Screens in various combinations:
3.After the screens are configured, VIdeo Wall Layout will be opened:
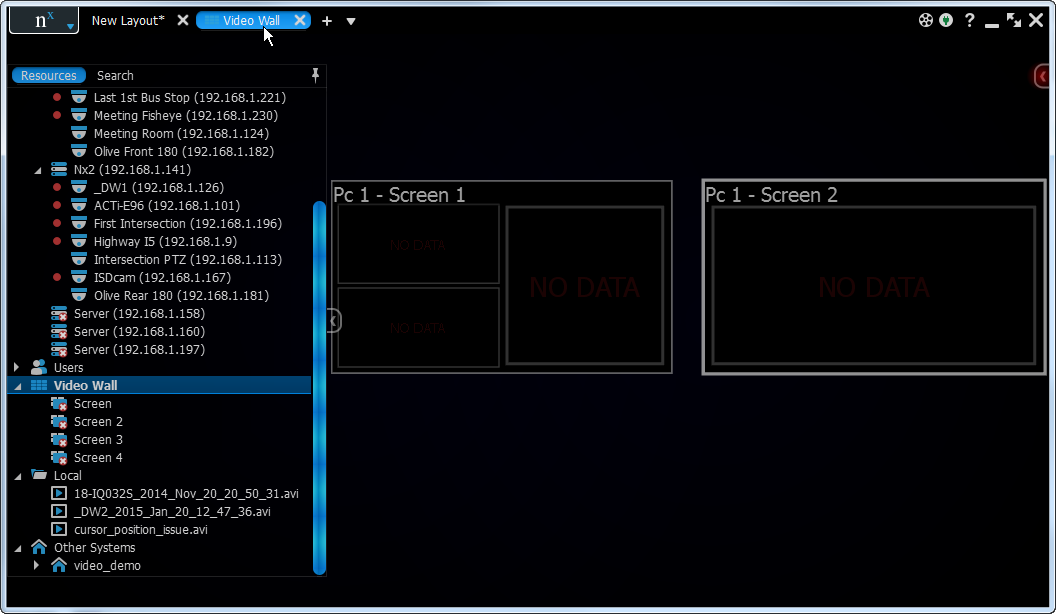
![]() Note: It is not possible to open videos in this Layout.
Note: It is not possible to open videos in this Layout.
4.Rename Displays in Tree.
5.Calibrate Video Wall. This means the position and size of virtual Displays should coincide with the physical-ones:
•To move/swap Displays click on their header and drag
•To resize Displays drag their edges.
To simplify the calibration process it is possible to display identification information on a particular physical Display. To do so right click on the desired Virtual Display and select Identify. This initiates displaying identification information on the corresponding physical Display.
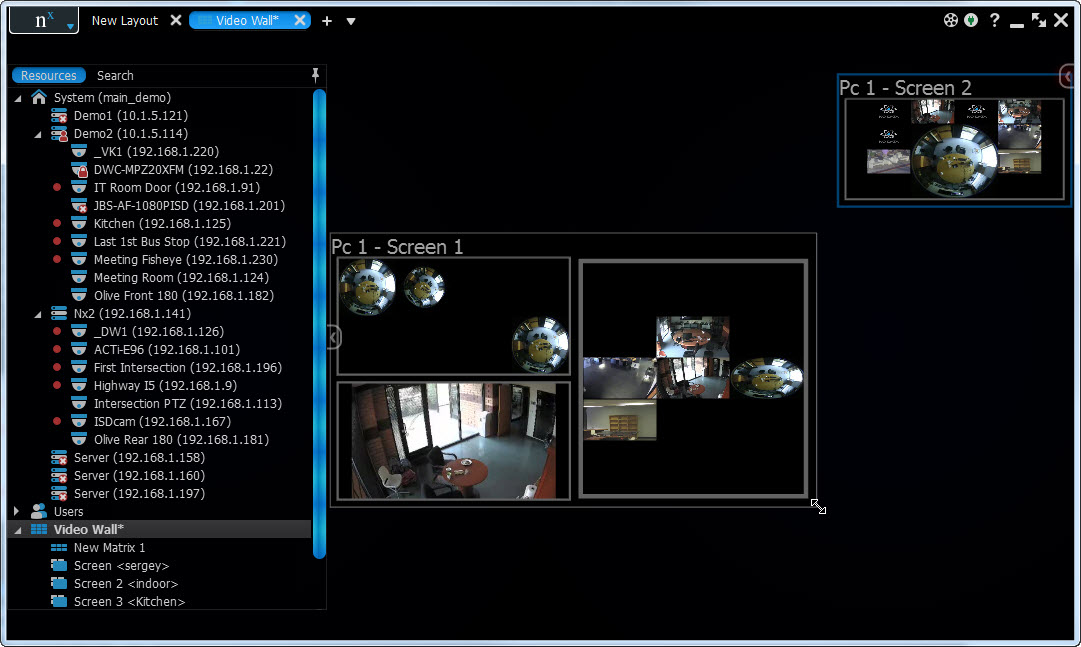
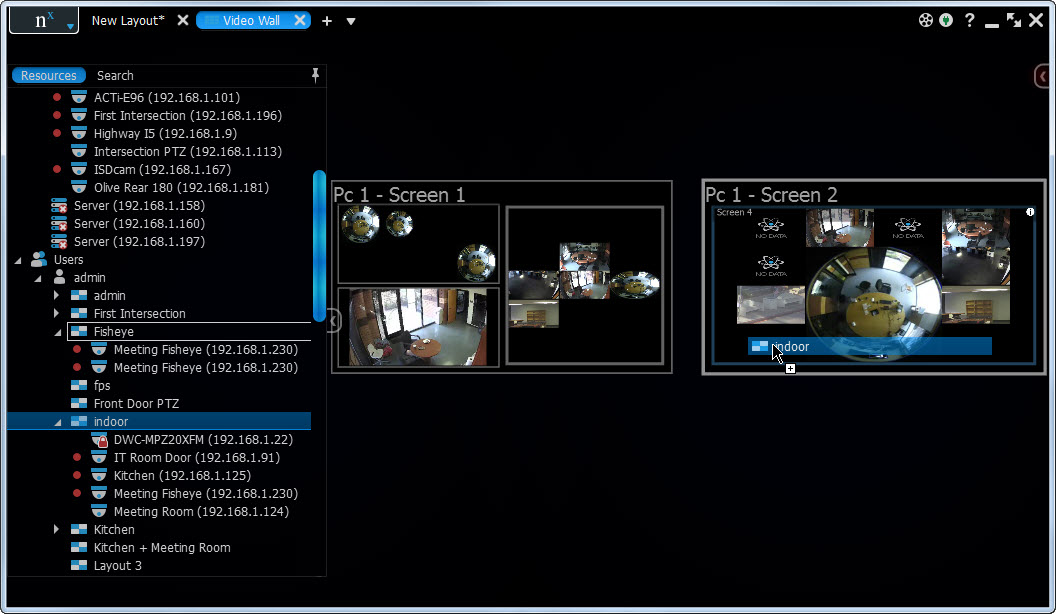
5.Fill up Screens. It is possible to place a single Item or whole Layout on each virtual Screen:
To remove Layout from Screen locate it in Resource Tree, or on VIdeo Wall Layout, Right-click and choose Detach Layout.
6.To save changes right click on Video Wall in Resource Tree and choose Save Current Matrix... and enter the desired name.
To restore Video Wall View expand Video Wall in Resource Tree right click on saved Matrix and choose Load Matrix...
The configuration is almost done. To finalize it is necessary to Switch Video Wall Processor to Video Wall Mode. After Video Wall has been started on Video Wall Processor, the current configuration can be changed on Video Wall Controller.
To open Video Wall on Video Wall Controller do one of the following:
•Drag Video Wall on Scene
•Right Click on desired Video Wall in Resource Tree and choose Open Video Wall(s).
Video Wall Layout will be opened.