De-warping Screenshots Taken from Fish-Eye Cameras |
  
|
De-warping Screenshots Taken from Fish-Eye Cameras |
|
Nx Witness does not automatically dewarp while taking screenshots from a fish-eye camera. However, the image can be dewarped later.
To dewarp an image:
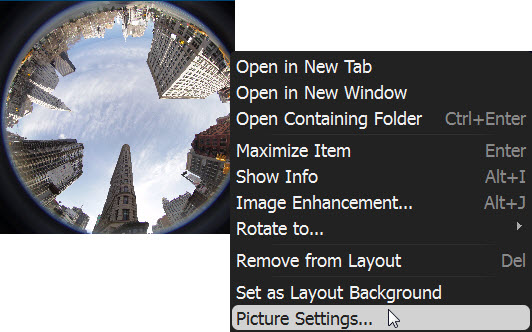
1.Right-Click on the image to open Context Menu and select Picture Settings...
2.Check This is a fish-eye lens image :
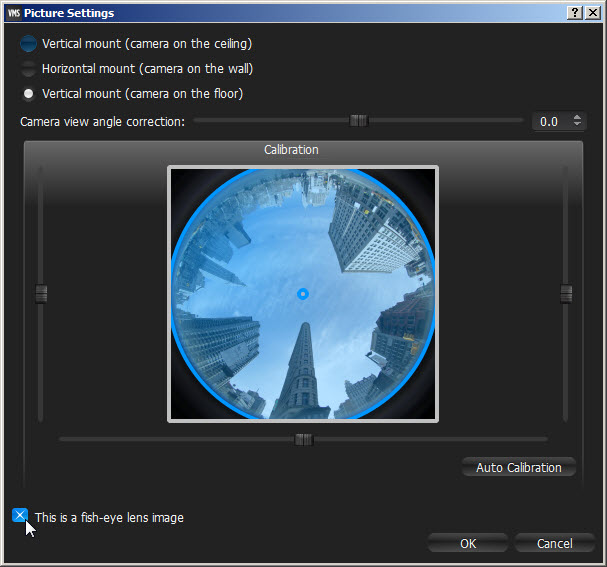
3.Set the following parameters:
•Camera's orientation - type of de-warping algorithms based on orientation.
•Calibration - to avoid de-warping artifacts, it is important to position the calibration circle within the Camera's view as accurately as possible. First, try Auto Calibration, then manually adjust the viewing range (if needed):
•Use scrollers to move the circle horizontally or vertically (or drag it with a mouse)
•Use a mouse wheel to resize the circle
•Camera's view angle.
![]() Note: It is recommended to keep image on Scene to monitor any image changes while adjusting settings.
Note: It is recommended to keep image on Scene to monitor any image changes while adjusting settings.
4.Click Apply or OK when finished. To discard changes, click Cancel.
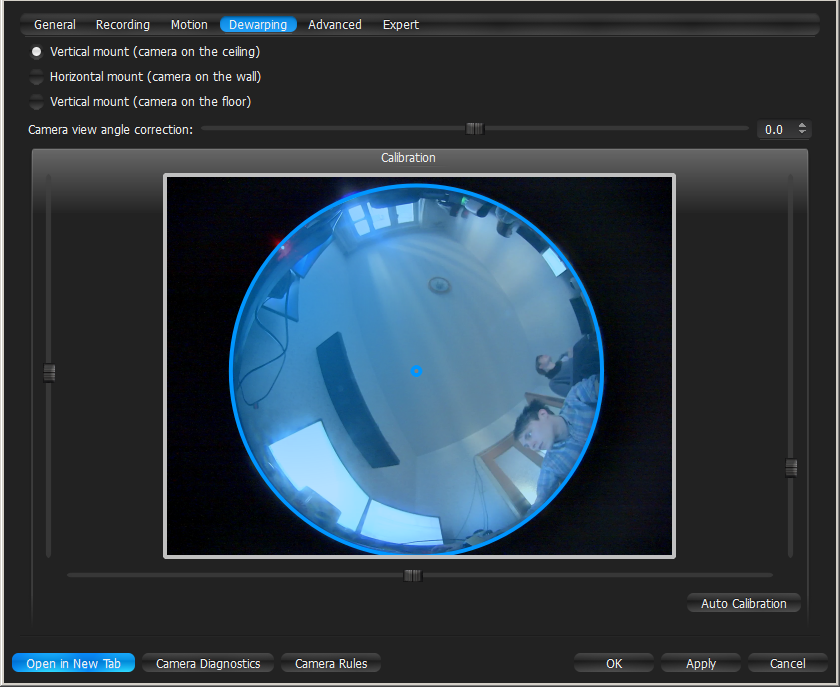
Once a screenshot is determined to be as a fish-eye screenshot, dewarping can be performed as usual (![]() button on the image). See "Dewarping Fish-Eye Cameras" for details.
button on the image). See "Dewarping Fish-Eye Cameras" for details.