Setting Up Fish-Eye Cameras |
  
|
Setting Up Fish-Eye Cameras |
|
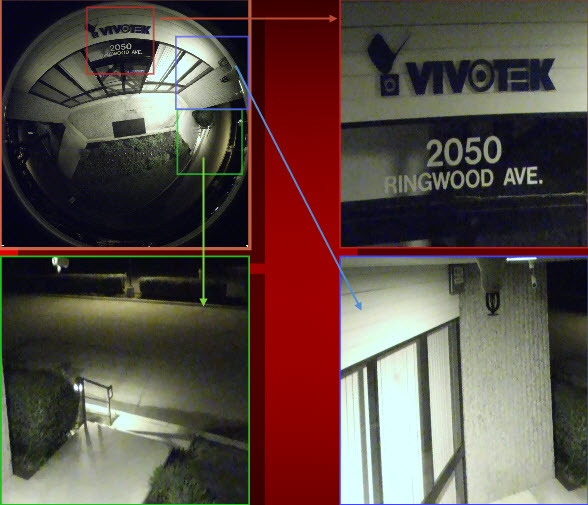
Nx Witness provides advanced capabilities to operate with fish-eye cameras. Such cameras use a specific type of lens that can cover a much larger viewing area. This particular type of lens warps a picture and a de-warping algorithm must be enabled to display the picture correctly:
![]() Note: It is possible to configure Cameras for Administrators and Viewers with an appropriate permission level.
Note: It is possible to configure Cameras for Administrators and Viewers with an appropriate permission level.
In order for Nx Witness to distinguish cameras with fish-eye lens, the following configuration must be performed:
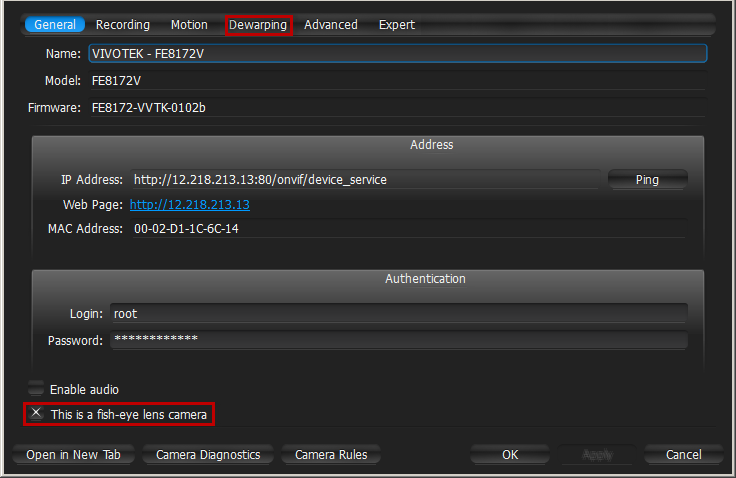
1.Open Camera Settings and go to General.
2.Check This is a fish-eye lens camera to activate the Dewarping tab:
3.Go to the Dewarping tab to select the following parameters:
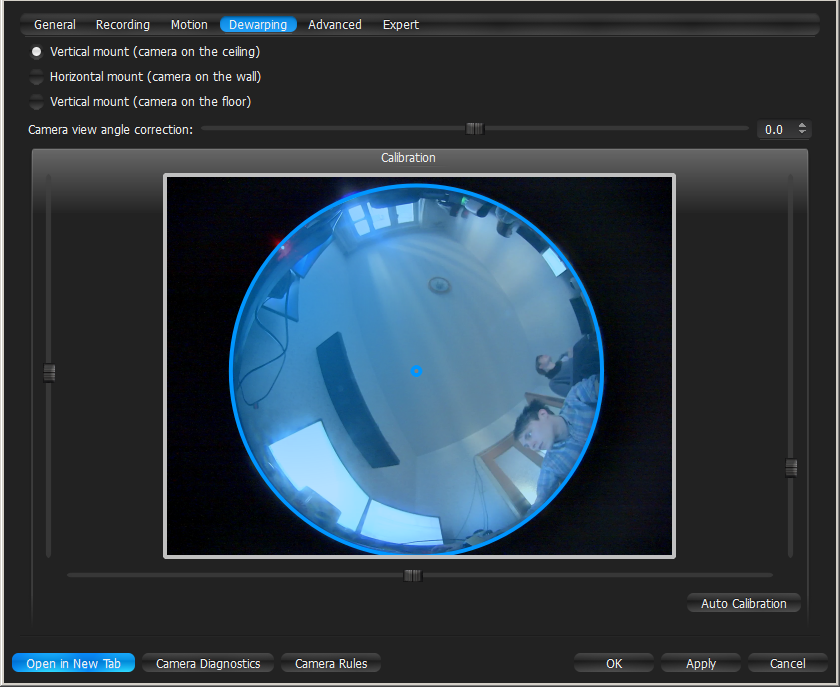
•Camera's orientation - type of de-warping algorithms based on orientation.
•Calibration - to avoid de-warping artifacts, it is important to position the calibration circle within the Camera's view as accurately as possible. First, try Auto Calibration, then manually adjust the viewing range (if needed):
•Use scrollers to move the circle horizontally or vertically (or drag it with a mouse)
•Use the botton scroller to specify the shape of the lens (panamorph lens support)
•Use a mouse wheel to resize the circle
•Camera's view angle.
![]() Note: It is recommended to keep Camera on Scene to monitor any image changes while adjusting settings.
Note: It is recommended to keep Camera on Scene to monitor any image changes while adjusting settings.
4.Click Apply or OK when finished. To discard changes, click Cancel.
Once Camera is established as a fish-eye camera, de-warping can be performed. See "De-warping Fish-Eye Cameras" for details.