Performing Screen Recording |
  
|
Performing Screen Recording |
|
To run Screen Recording, proceed with one of the following:
•Open Main Menu and select Start Screen Recording (or press Alt + R)
•Click on the ![]() icon in the top right corner.
icon in the top right corner.
Screen recording will start in 3 seconds.
When finished, proceed with one of the following:
•Open Main Menu and select Stop Screen Recording (or press Alt + R)
•Click on the ![]() icon again in the top right corner.
icon again in the top right corner.
![]() IMPORTANT. If audio parameters are setup incorrectly, Screen Recording will display the following error:
IMPORTANT. If audio parameters are setup incorrectly, Screen Recording will display the following error:

In this case it is necessary to do the following:
1.Set up audio card parameters in Windows, check and select default recording devices. Then try to record sound in Windows Recorder.
2.Set up Screen Recorder Parameters (see "Setting up Screen Recording").
Choose the desired file name and location and click Save (Cancel will close the dialog and data will not be saved):
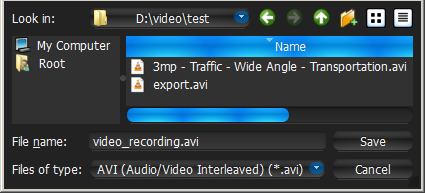
File and folder operations are performed in the same manner as in Windows Explorer.
As soon as the file is saved, it will be available in local files:
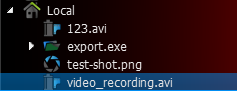
![]() IMPORTANT. This resource will be available until Client restarts. To make it available permanently, save the exported video to Nx Witness Media Folder (see “Configuring Media Folders”) or create and save a Layout that would contain this video.
IMPORTANT. This resource will be available until Client restarts. To make it available permanently, save the exported video to Nx Witness Media Folder (see “Configuring Media Folders”) or create and save a Layout that would contain this video.